Getting Started with SFTPPlus on Windows
Switch to the Linux guide?
1. Download and installation steps.
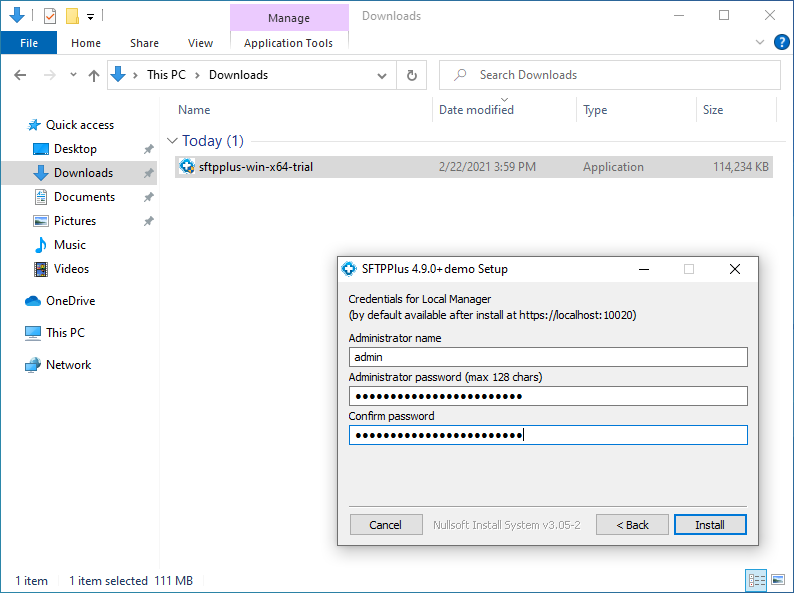
Go to the SFTPPlus package and launch the installer. Follow the steps to complete the installation. During the installation, define the administrator name and password that will be later used to access the SFTPPlus management interface.
Once successfully installed, a new shortcut is added to the Windows menu. Look for SFTPPlus Local Manager and launch it. This shortcut will start the SFTPPlus Local Manager which is the web-based administration panel.
If you get the This site is not secure message, click on the Details and then Go on to the webpage. This message is due to your self-signed SSL certificate, which SFTPPlus generates as part of the installation process.
The SFTPPlus Local Manager comes with an initial administration account. The username and the password are the ones entered during the installation process. Use the credentials to log in before proceeding with the next step.
2. Enable the test account.
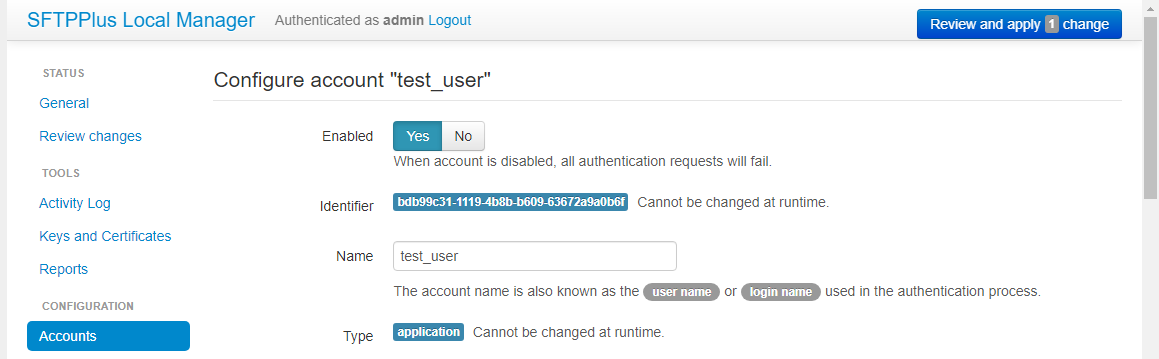
The default configuration also provides a test account test_user with the password test_password. For security reasons, this account is disabled by default. To enable this account, find the Accounts section and click on the test_user.
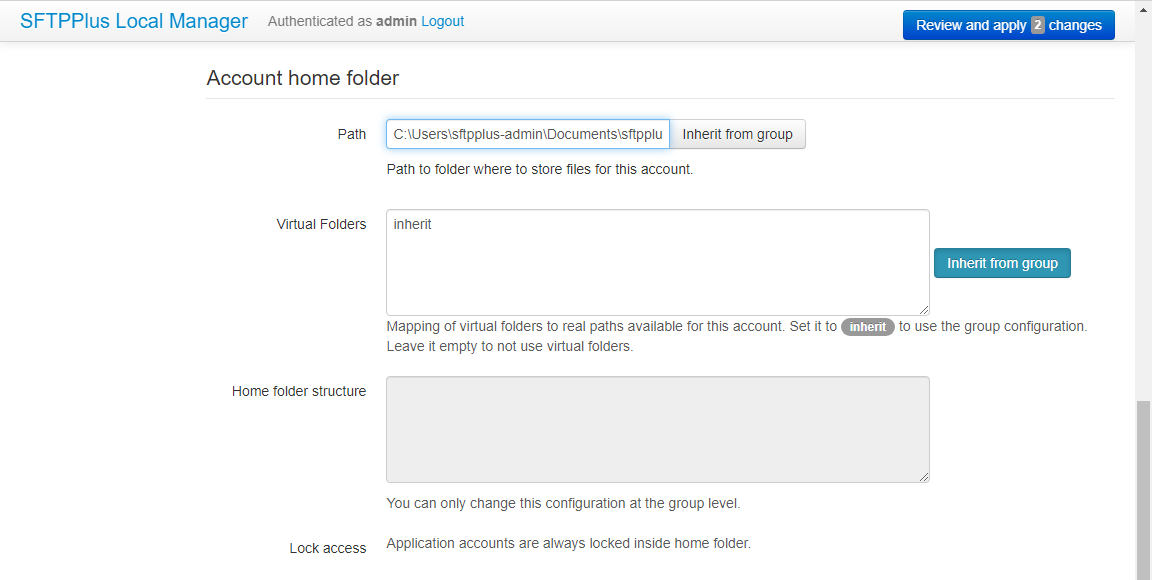
Next we will enable the account. Change the home folder. And finally enable SFTPPlus to create the missing new home folder. You can find all the options we need to change below:
- Enabled: Yes
- Account home folder: C:\Users\«YOUR USERNAME»\Documents\sftpplus-test
- Create missing home folder: Yes

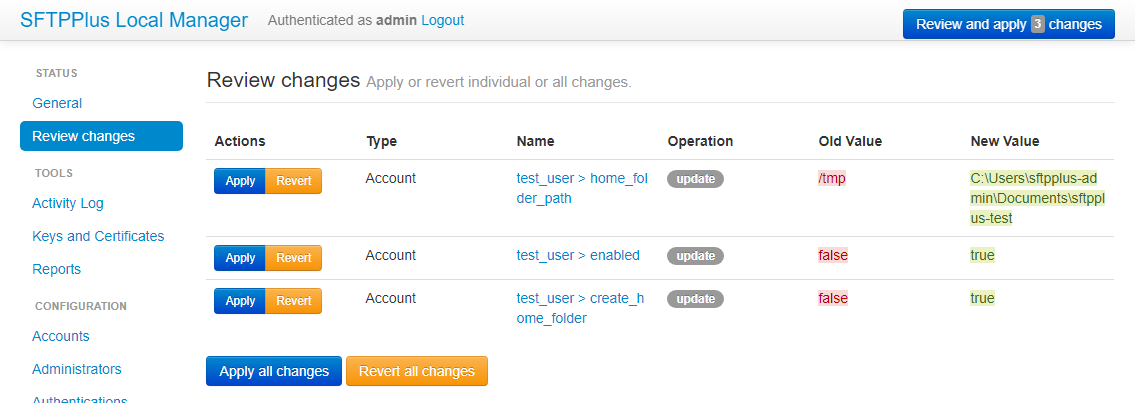
In order to apply the changes, scroll down to the bottom of the page and click Review and apply. SFTPPlus will show all the changed configurations to be applied and show which components require a restart. To proceed, click Apply all changes.
3. Connect to the server and upload a file.
You can use any SFTP client to connect and upload or download the files from the SFTPPlus server. We will be using FileZilla to upload a test file. Open FileZilla and fill in the following values:
- Host: sftp://localhost
- Username: test_user
- Password: test_password
- Port: 10022
Next click Quickconnect. Please accept the SSH key fingerprint warning that FileZilla will show. The SSH fingerprint is derived from the SSH keys generated as part of the SFTPPlus installation. Use the Local site panel in FileZilla to point to a location with a file for upload. In the screenshot, we created and uploaded an empty text file from the Desktop folder.
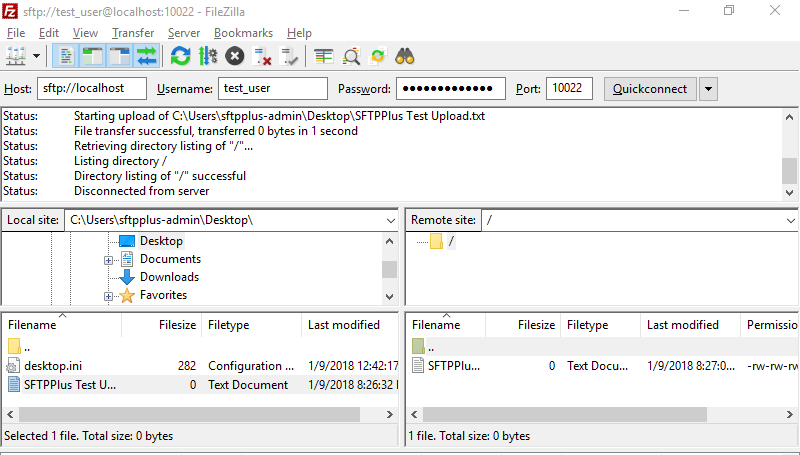
Upon completion, this file should be available in the earlier defined home folder location.
4. Enable the file transfer automations.
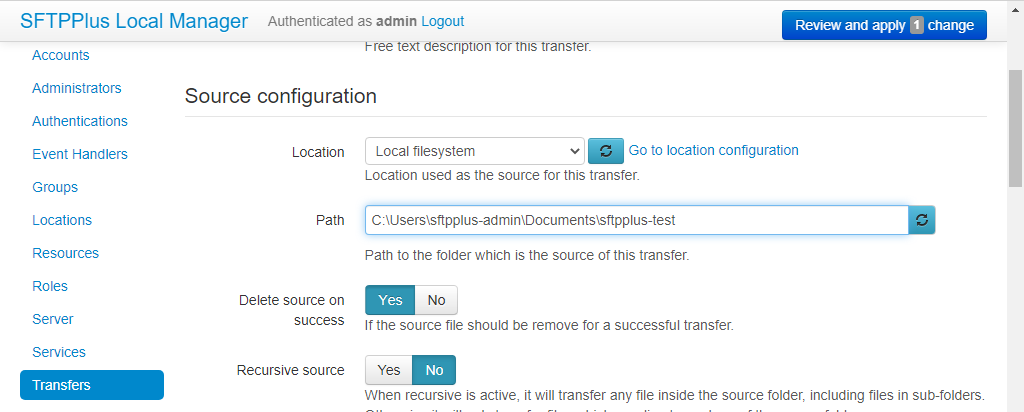
SFTPPlus provides a powerful framework for pre- and post-transfer operations. In the SFTPPlus Local Manager, go to Transfers, and select Add transfer. Change the settings to the values below:
- Source configuration path: C:\Users\«YOUR USERNAME»\Documents\sftpplus-test
- Destination configuration path: C:\Users\«YOUR USERNAME»\Documents
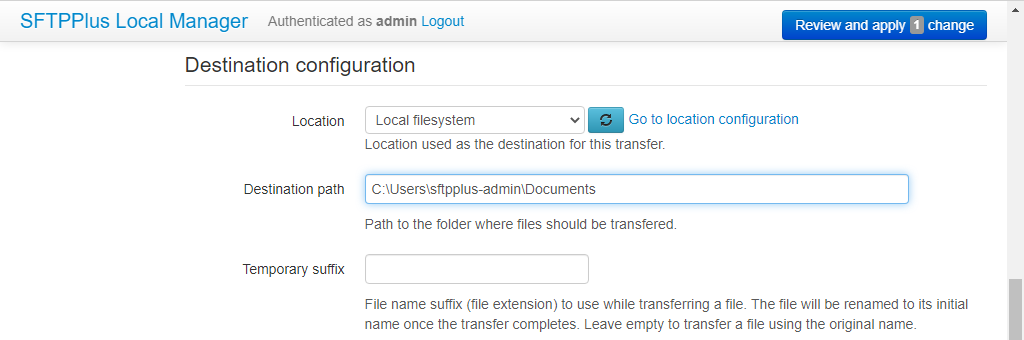
Next, click Review and apply to load the changes. To start the new transfer, go to the General status section and find the list of available transfers. You should be able to start the transfer from there.

The transfer automation will move any uploaded files from its source location (in our case the account home folder) to the destination folder shortly after the uploads complete. SFTPPlus will log any errors and will retry a couple of times in case of failures.
To test the automation, use the SFTP client to upload a new file. Every uploaded file will be moved to the new destination path.
5. Support and feedback.
This guide is complete. We would like to thank you for your time. SFTPPlus comes with free support during the trial period. If you have questions or feedback, we would like to hear from you.