
Client Documentation
2.4. Upgrading
2.4.1. Determine the install folder
In case you’re not sure where you installed the product please use any of the methods below to find the installation folder.
2.4.1.1. Windows Service
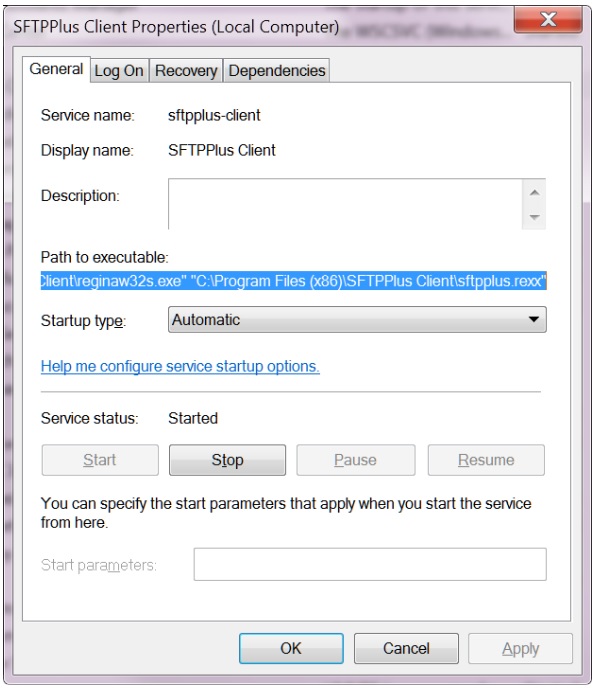
Run/execute services.msc and check for SFTPPlus Client service.
Right click and select Properties. In the General tab you will see Path to executable, just beneath Description.
2.4.1.2. Process
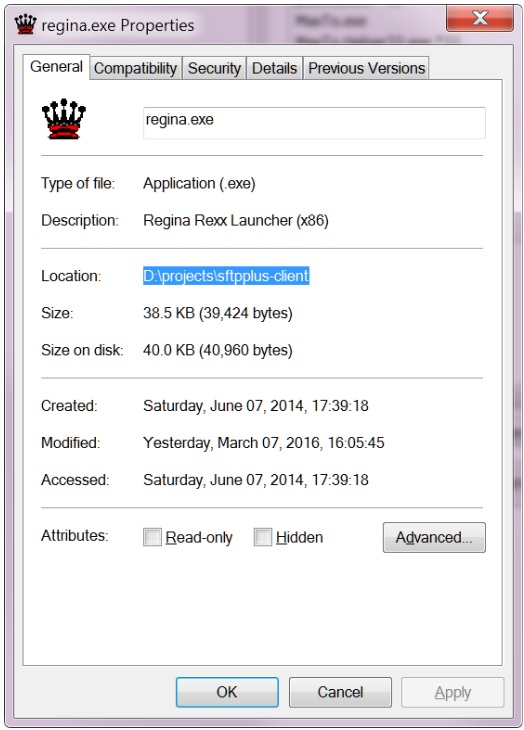
Open Task Manager, go to Processes. Make sure you select Show processes from all users and look for regina.exe/regina32s.exe processes.
Right click and select Properties, in the Location you will see the installation folder.
Once you have a list with all install locations you can continue.
2.4.2. Stop service/process
We recommend stopping the product before backing up the configuration and binaries; but the backup can be made while it’s running nevertheless.
Run services.msc, go to SFTPPlus Client service and click on Stop Service. Wait for the service to stop before proceeding.
2.4.3. Backup existing installation
For a generic deployment, SFTPPlus Client upgrade will not overwrite or delete your existing data files. To stay on the safe side, please make a copy of your current SFTPPlus Client installation, especially the configuration files (global.conf, message.conf, and conf folder).
Here’s a summary of the installation folder structure and contents for reference [1]:
- .\ contains client operational commands and global configurations
- .archive folder where successfully transferred files and logs are moved
- .conf stores transfer definitions files
- .failed stores failed transfers
- .inbox default folder used by SFTPPlus Client to get or put files
- .outbox temporary folder from where files are sent
- .retry folder where failed transfer should be moved to retry the transfer
It is mandatory to backup all files in the install folder and all subfolders apart from failed and archive.
Depending on your configuration the archive/failed folders can contain a large number of files, hence we recommend double checking before including them in the backup archive.
Before continuing to the next step you will need to check file/folder permissions. In case your setup uses special permissions these will need to be restored manually, once the new version is copied over.
We recommend using icacls “SFTPPlus Client*” command executed in the installation folder’s parent folder.
2.4.4. Download new version
Download the desired SFTPPlus Client version from the link provided to you by our sales/support team.
We recommend using the ZIP archive in order to fully control the install/upgrade process.
2.4.5. Review configuration changes
In case you didn’t make any changes to global.conf and message.conf files, that is all you need to do.
For the case when you are using a custom global.conf or message.conf file, please review the Changelog file and check any notes regarding configuration changes affecting these files.
Before proceeding further we recommend doing a diff between existing global.conf file and the sample one included with the new version.
If no differences are observed you can safely proceed.
If there are differences we recommend keeping the old version instead; and manually alter it to be compatible with the new release. If that will be the case we will assist with the needed changes.
2.4.6. Unzip new version
Simply extract the downloaded archive over the existing files and folders in the installation folder.
If your installation uses special permissions (see step 3) you will need to manually restore these before proceeding to the next step.
References:
Notes:
[1] represents the installation folder. On regular installs it’s “C:Program Files (x86)\SFTPPlus Client”.